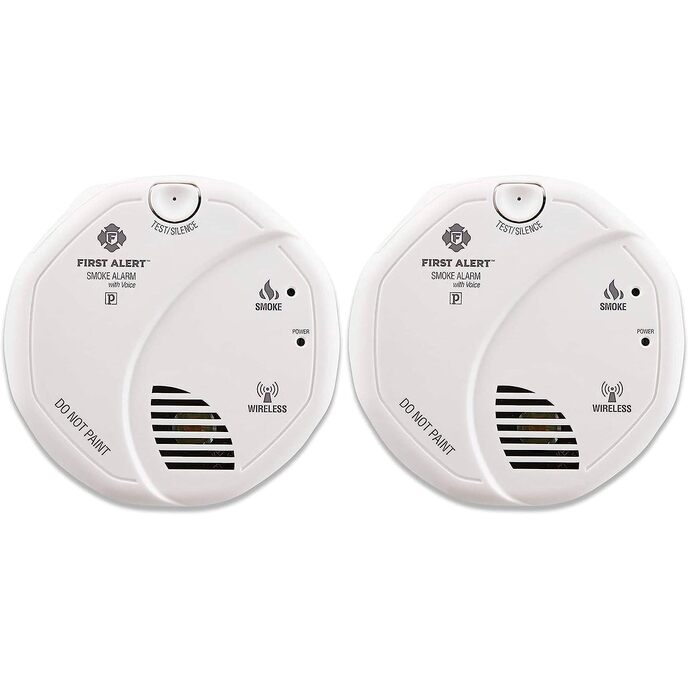
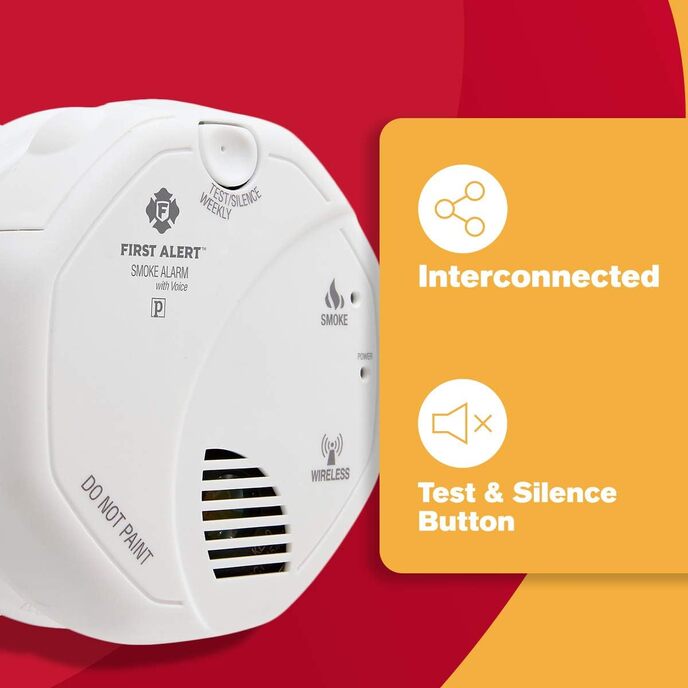
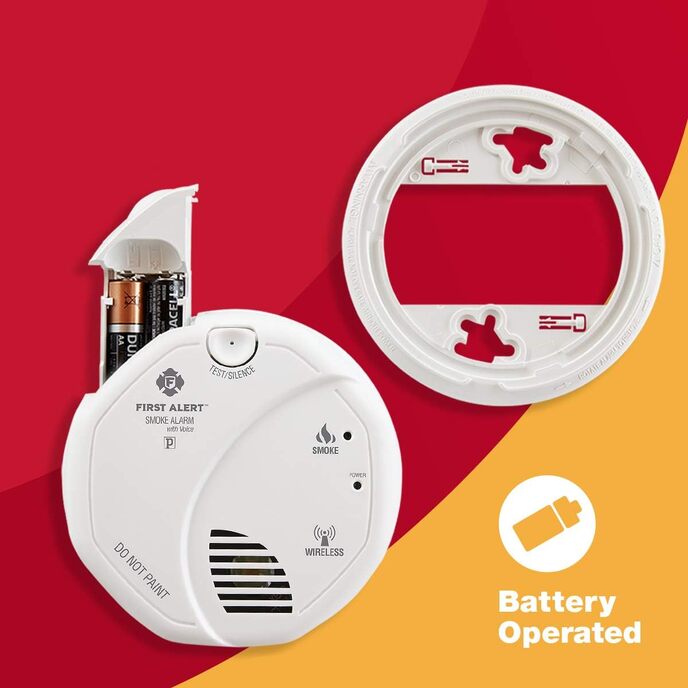
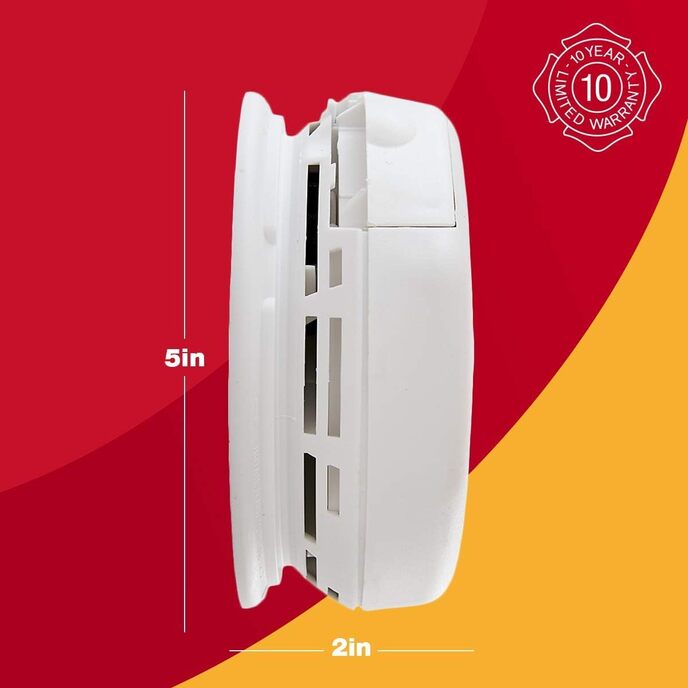
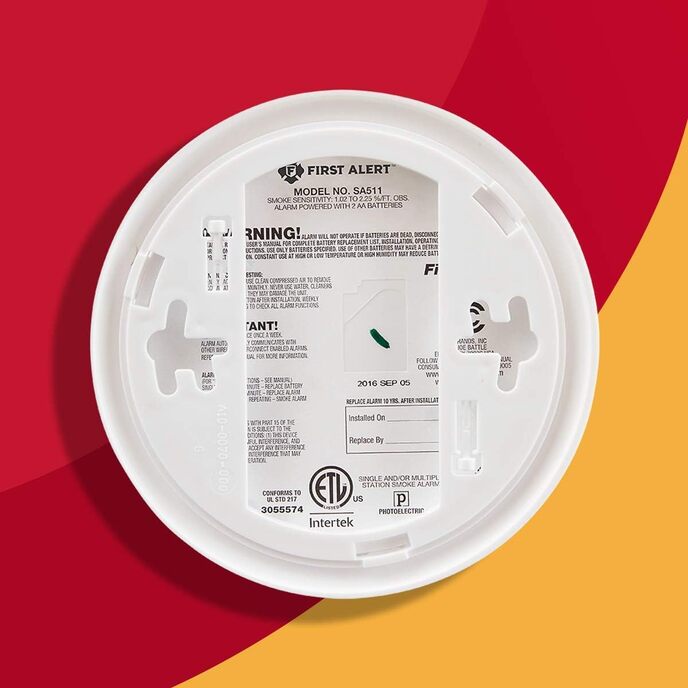
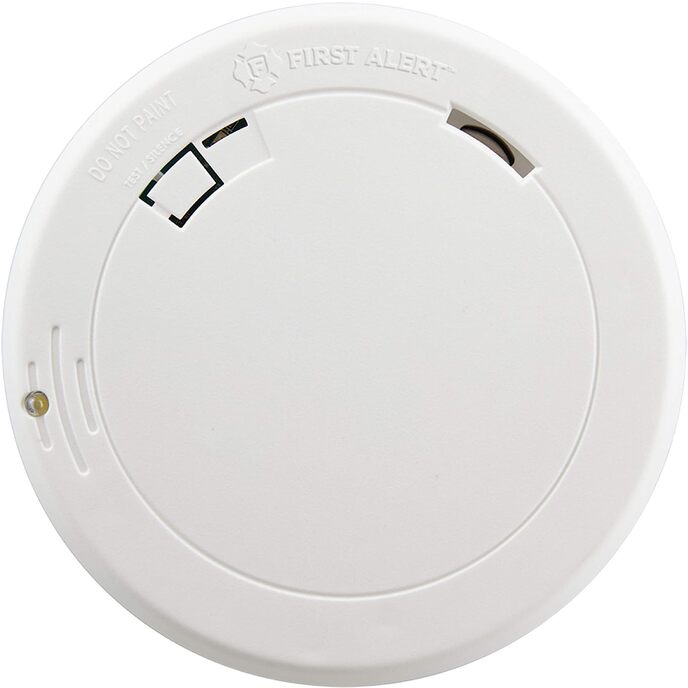
First Alert SA511CN2-3ST Interconnected Wireless Smoke Alarm with Voice Location, Battery Operated, Pack of Two We paid $70 per pair from Amazon on Jan 4, 2018. We bought 3 sets for a total of 6 detectors. They arrived on Jan 7 and I just finished installing them tonight. So far, I am very impressed with these smoke detectors. I wanted to provide a review to share my experience with you. Before deciding on these, I read some smoke detector reviews for several different brands and models and choose these for the wireless communication features and the price. I also watched some YouTube videos and Amazon reviews on this particular alarm system. Let me start with a list of PROs and Cons. PROs: 1] Easy to program and install (once you read the instructions carefully). 2] Intelligent design … smart latching mechanism and mesh Wi-Fi network technology. 3] Nice and loud, good if you are a deep sleeper or have TV or music turned up loud. 4] If one of the detectors alarms, they all alarm and tell you where the potential threat is. 5] Affordable price at $35 a pop. 6] Battery enclosure is accessible without having to un-mount the detector from its base. CONs: 1] The wall anchors are too small for my taste, so I used the kind I like instead. 2] The range is only about 50 feet from one to the next. 3] Maybe too loud for some people, when they all go off in your house at once, it sounds intense. 4] It will not connect to your home Wi-Fi or network; therefore you cannot get a notification to your phone, tablet, laptop, etc. via an app. Here are some tips to help you program and link them. Programming and linking are two separate procedures. All programming does is assign a built in name for each specific unit. Linking them allows them to communicate with each other. You don't have to program them or link them, in which case they would just act like a $10 standalone smoke detector. What I did is put batteries in all 6 detectors and assigned a different name to each one. To do this, 1] Open the battery compartment put in the two AA batteries, paying attention to polarity. 2] Close the compartment door and you should hear a brief chirp followed by this message: "Welcome. First Alert smoke alarm, no location programed. To change location press and hold test button now. Press and hold test button to test the unit." 3] After the message says "...test button now." and before the message is over, press the test button for two seconds. If you miss this, start over by opening the battery compartment, wait a few seconds, then close the battery compartment and try again. 4] Once you get that right, the unit will continuously cycle through all the names you can choose from. Basement -> Childs Bedroom -> Dining Room -> Family Room -> Guest Bedroom -> Hallway -> Kitchen -> Living Room -> Master Bedroom -> Office -> Utility Room -> No Location -> (Then back to Basement – repeat) 5] When you hear the location you want to assign the unit, push and hold the test button for one second just after the location you want to choose is announced and just before the next location is announced. 6] Mark each unit with a tiny post it note, sticker, piece of tape with writing for the name you assigned. Now you are done programming that unit and the assignment will remain even if you replace the batteries. Linking them is easier, especially if you have them all in front of you on a table, bed, couch, or floor. 1] Open all the battery compartments except one which I will call unit 1. 2] Press and hold the test button on unit 2 first, and then close the battery compartment for unit 2. 3] When you hear unit 2 chirp, release the button on unit 2. 4] The power indicator on unit 2 will have a fast flashing green light indicating communication. 5] Put unit 2 face down on a cushion or pillow (so it won’t be so loud) and pick up unit 1. 6] Press and hold the test button on unit 1. 7] When unit 2 chirps, you can let go of the test button on unit 1. Note: If you wait more than two minutes between steps 5 and 6, you may need to start over at step 1. Unit 2 is now linked. Repeat these steps for the unit 3, unit 4, and so on. It does not matter in what order you link them because they use a mesh network to communicate. They should remain linked even if you replace the batteries. If my instructions fail, try using the procedure in the manual. What appeals to me about this alarm system is that it seems wonderful for a large house or a house or apartment with a basement, garage, and/or storage shed ... or a situation where a fire could start in one area but you might not be able to easily hear the alarm from a different location in your house, condo, or apartment. I would suggest that the bigger your house, the more you buy. The main reason for this you want to situate each detector in such a way that no two are separated by a distance of more than 50 feet apart. Also you need to consider the line of sight path from one unit to the next closest. Is it a clear shot? Does the signal have to pass through multiple walls? Are the walls drywall, brick, or concrete? Are the walls zig zagged at angles or a nice clear perpendicular path? Something else comes to mind. Make sure you are using good quality batteries, like Duracell, and check the expiry date on them. Also, if you put one in the Kitchen, consider mounting it on the wall away from the stove so you can reach the test button without having to stand on a stepping stool. That test button also acts as a way to mute the system in the event of a non-serious situation like burning a roast in the oven. You can squelch the system for 10 minutes to stop the panic of a full out serious alarm condition while you clear the smoke out. I plan on doing a follow up concerning my personal experience with this system as it pertains to: 1] False alarms. 2] Battery life. 3] How satisfied I am with the system over time. For now, I give it a full 5 stars. I hope you enjoyed my review and I hope it helps you in some way. Update 1: Jan 27,2018. We have had zero false alarms so far, but the system alarmed in different ways two or three times due to testing and I did get mixed results. On the first occasion, the smoke detector in the Utility room alarmed. That's because she was toasting some bread in the small convection oven and it got too hot and burned. I will probably move that unit into the adjacent hallway ceiling. When I asked the boy if he heard the alarm while he was in the pool house at that time, he said "no". The interesting part to this is that when I installed the unit in the pool house, I tested it. It worked. It worked so well, I stepped outside on the porch after triggering the test button and it sounded like an air raid. Six alarms sounding in tandem, all throughout the various rooms where they were located. It was almost Orwellian. Sure enough, I performed another test and it resulted in another negative. Pool house will not respond to the other 5, but all the other five will respond to the pool house. The other 5 also respond to each other, it's just number 6 that doesn't listen to the others. As it turns out, I am okay with that. As long as number 6 talks to the other 5, that's really all I needed anyway. I want to know, in my bedroom hall, if the pool house detector smells smoke. The pool house already has 2 other smoke detectors (old ones that don't communicate, they just alarm) that will warn anyone in there. At least I will also get an alarm in my hallway that tells me the "Child's Room" has detected a warning. That means "Pool House" because that's how I programmed it. I am still very pleased.